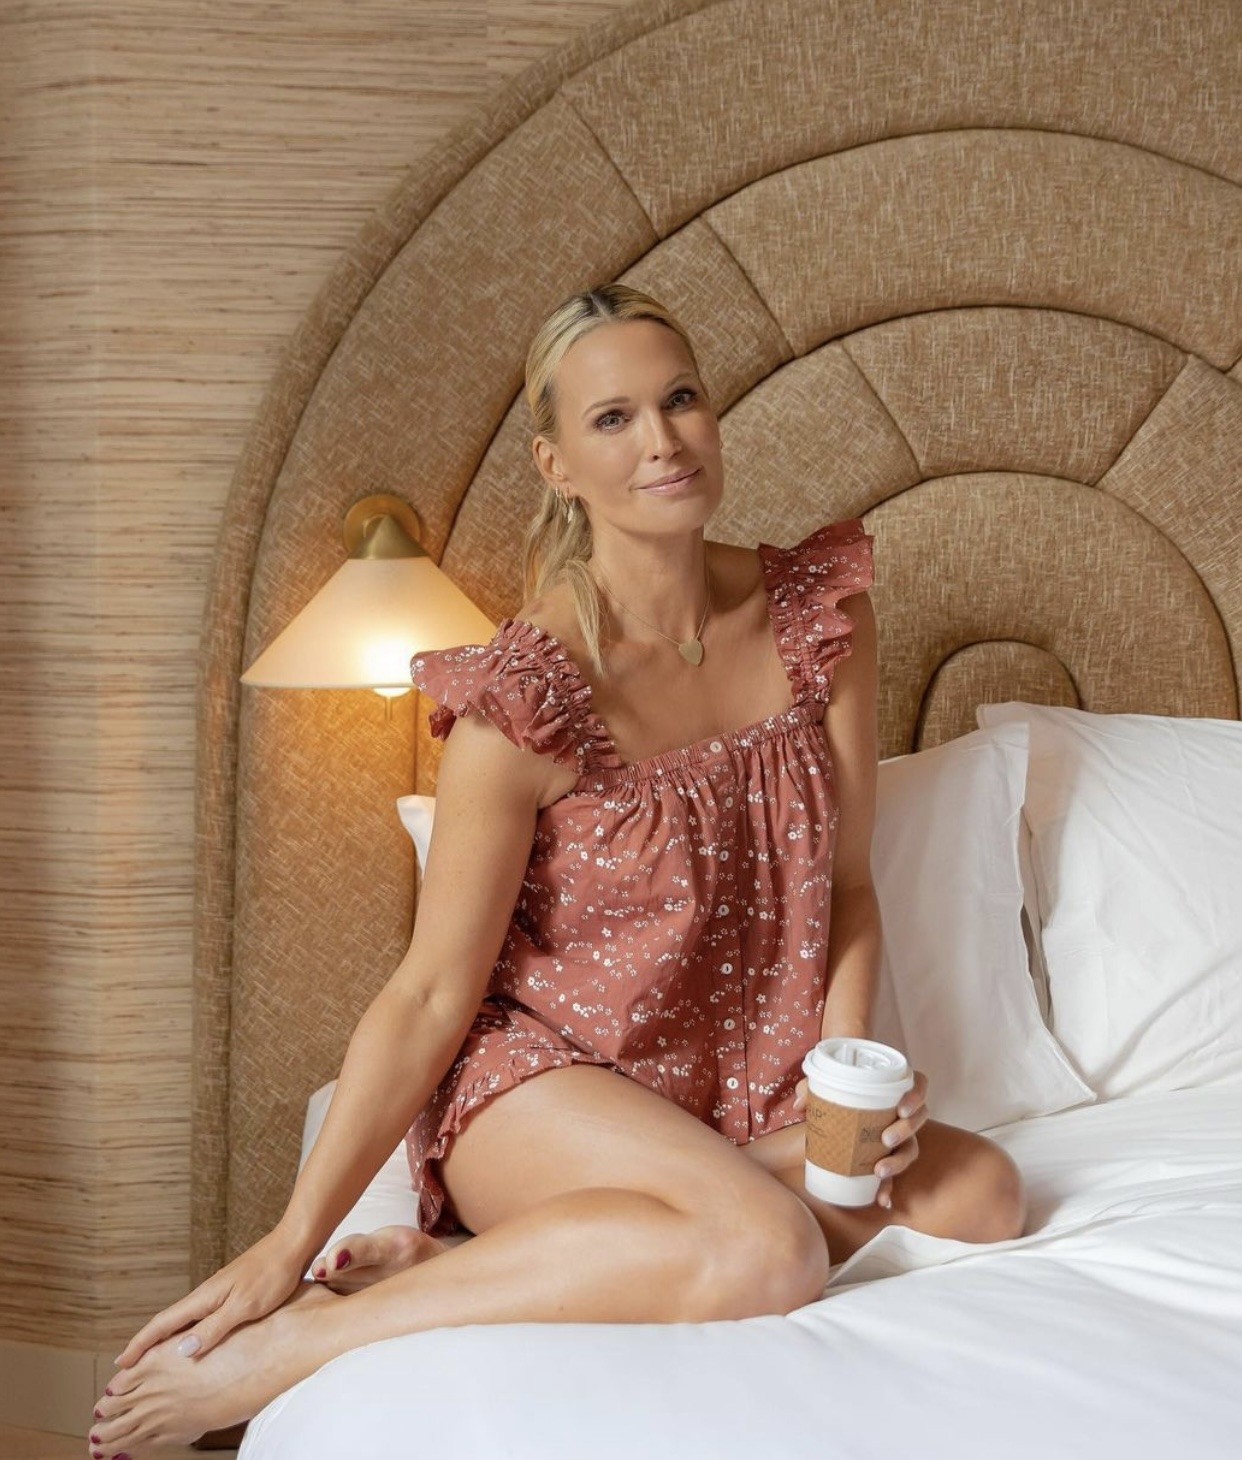
Beauty...
Be your own
kind of beautiful
Be your own
kind of beautiful


By Mollysims.com
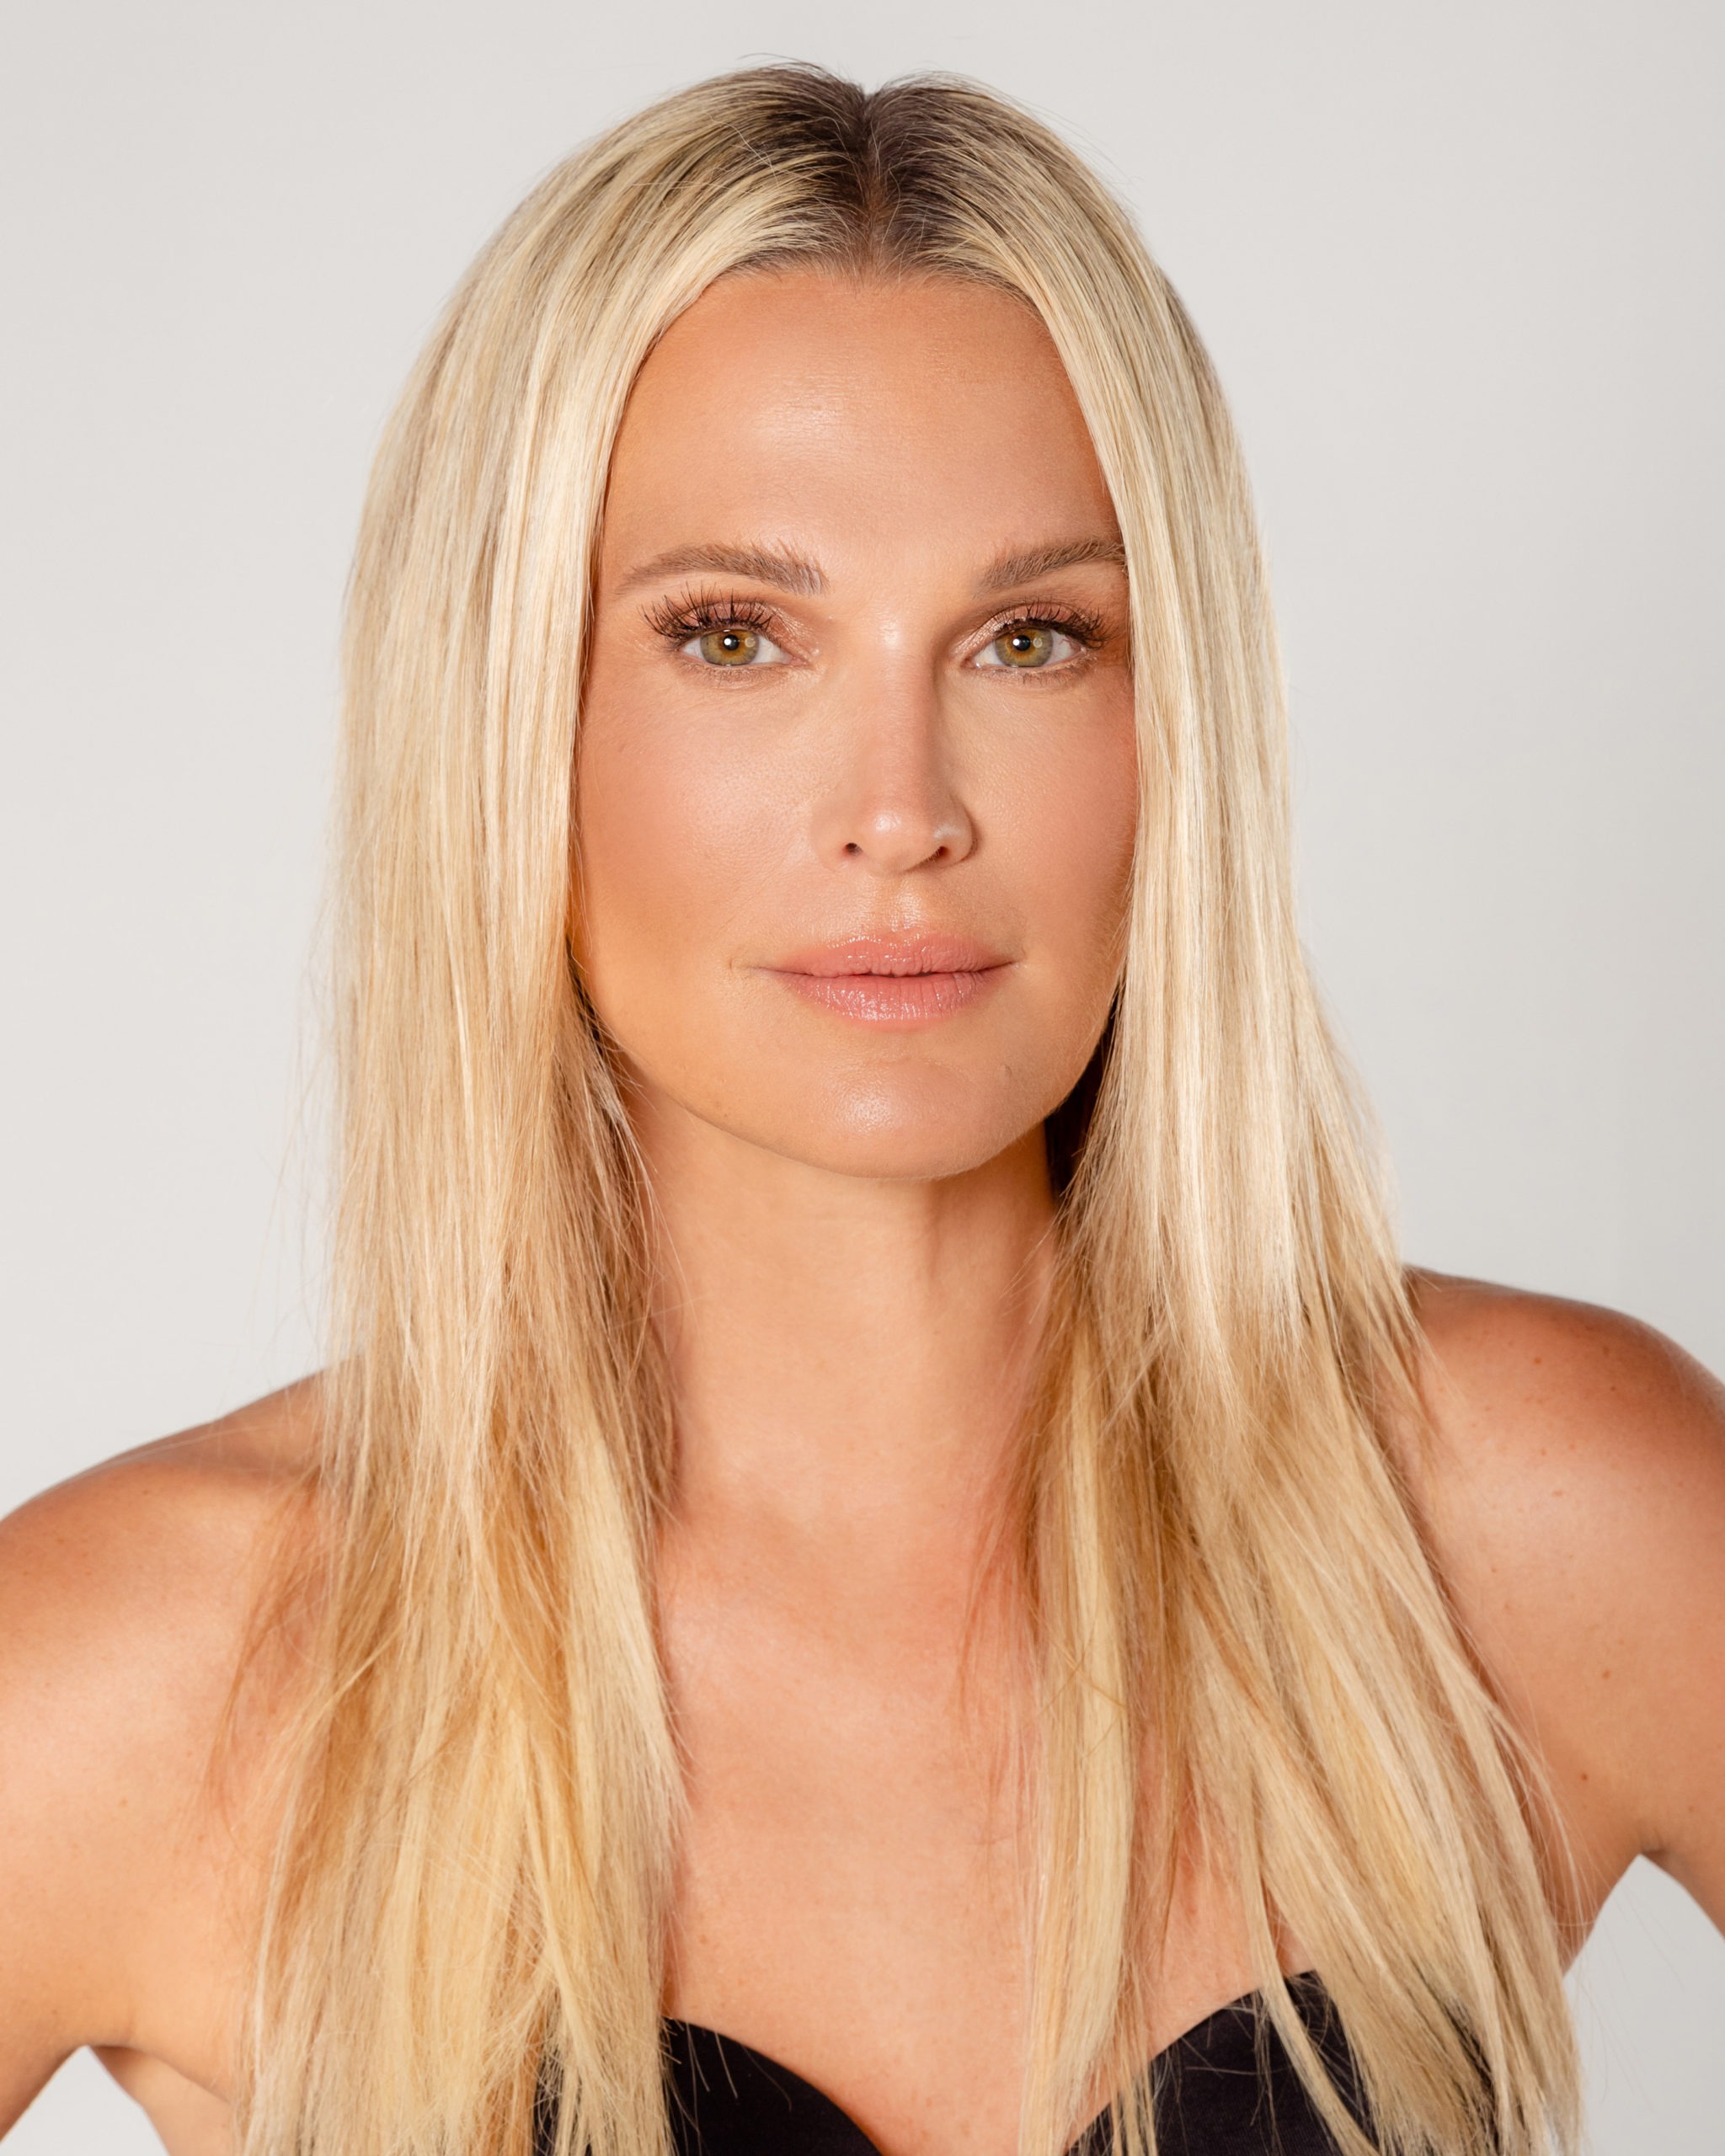
We have all strived to recreate that effortless dewy and bronzed makeup look that has graced the faces of the most notable supermodels. What are their secrets? What products are they using? Now, while we may not have all the beauty secrets in our back pocket, we do have one of Molly’s talented makeup artists, Mallorie Mason to share how she has perfected Molly’s go-to photoshoot makeup look.
With a steady hand and the perfect shade of pinky-nude lipstick, Mason reveals her step-by-step process (plus each product she uses) when it comes to achieving one of Molly’s most-asked about beauty questions.
In order to achieve optimal makeup results, you need to start with a good foundation – your skin. This is the step that is most crucial in how your makeup is going to last and how dewy and fresh it will appear. These are the 3 steps and products I use for photoshoot days on Molly.
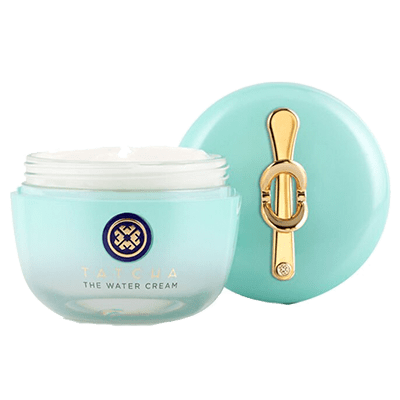
The first product I like to apply is the Tatcha The Water Cream Moisturizer. This is applied evenly on Molly’s face and down her neck (never forget the neck ladies!).
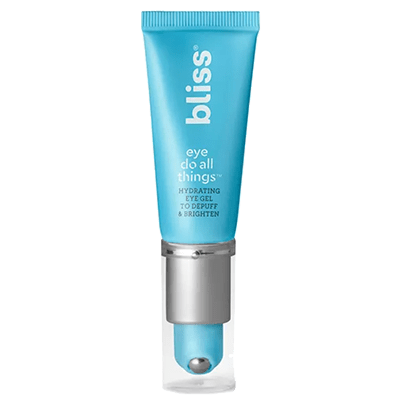
Then, I dab Bliss Eye Cream under and around the eyes. I even add a little to the eyelids because let’s face it, you can never have enough hydration around your eyes.
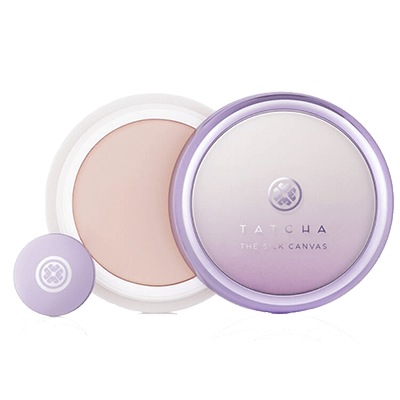
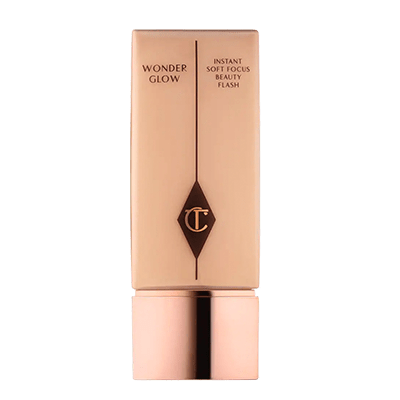
When it comes to primers I think it depends on the shoot. If we are doing a shoot that’s a least five hours, I like to use the Tatcha The Silk Canvas Protective Primer in the T-Zone (middle of the forehead, chin, and the inside of the cheeks. This helps the makeup last long and become oil-proof. Since Molly has combination skin, this primer is usually my saving grace to makeup that lasts for hours. Typically on almost all makeup occasions, I use the Charlotte Tilbury Wonder Glow on Molly. It’s illuminating and gives the skin that natural glow that we all desire and deserve.
There is an art to applying makeup and I am here to tell you all of the secrets. Consider this your MasterClass to achieving the ideal long-wear makeup look that doesn’t look or feel caked on. The trick is to always have a steady hand and patience is key! Don’t rush the process and most of all, practice makes perfect. Here is the step by step of how I do Molly’s makeup look for photoshoot days.
Hydrate her lips with Fresh Sugar Balm in Lemon.
Prep her eyelids with the Makeup by Mario Master Eye Prep & Set in ‘Light’. Eyeshadow primers are a must when wanting to achieve long-lasting wear and true to color shadow. It also helps with enriching the shadow.
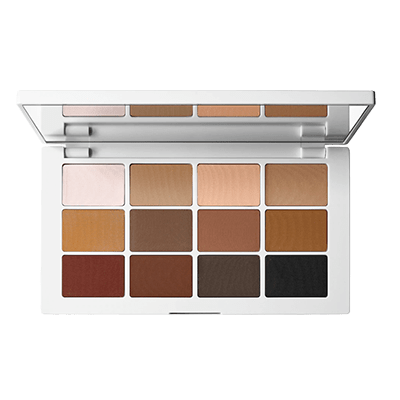
This step is when a killer eyeshadow comes into play. Molly and I like to play around with different pallets. However, ultimately it depends on the type of shoot and vibe. We always tend to lean towards keeping her eyes bright and bold. My go-to’s lately for Molly have been Charlotte Tilbury’s Easy Eye Pallet in Charlotte Darling and Makeup by Mario Master Mattes.
To start, I choose a neutral color and apply it all over the lid and brow bone. Then I choose a color for the lid that brightens up her eyes and makes her green eyes stand out. Usually, the winner to achieve this is always a pinkish/gold/champagne color. Once that is complete, I contour her eyes with a complementary color which is a soft brown or mauve pink. Lastly, I highlight the brow bone right in the arch of the lid and lightly blend it down to the bone. Note: I never put sparkle on the brow bone, only a sheen smooth texture.
Next, I smudge a soft brown into her bottom lash line and continue blending in the outside corners. It’s easy for dark shadows to take over Molly’s eyes so I generally keep it in the soft browns/taupes.
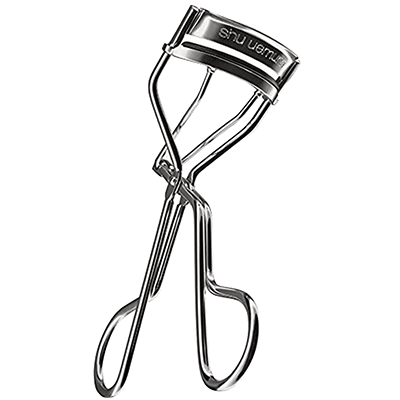
Now, this is when I hand over my Shu Ueruma Lash Curler and Loreal Voluminous Mascara for Molly to apply. Molly always applies mascara herself. She’ll typically do 2 coats to her lashes for thickness and length.
Once the mascara dries, I add Glad Girl Individual Lashes in ‘Knot Free Short” to the outside corners and a few in the center. It just gives her eyes that extra something special.
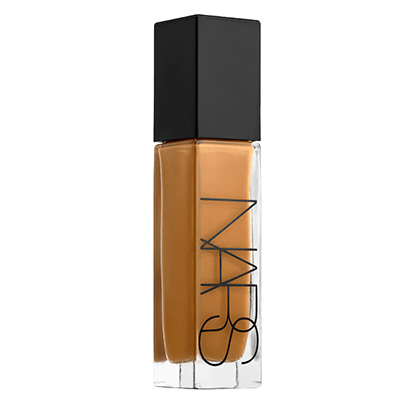
Now, we move on to the base. First, I like to use about a pumpl and a half of Nars Longwear Foundation in “Barcelona”. When applying, I use my triangle sponge to each cheek, nose, chin, and forehead first and then go in with a damp beauty blender to melt the product into her skin. I use small dabbing motions to press in and blend the foundation around her face and down to her neck. Making sure all is blended nicely. This is KEY.
This is when I brighten up her high points with Ilia Super Serum Tint SPF 40 in ‘Diaz’. About 1 drop is enough to apply to her skin with the same damp beauty blender. I must admit, this step is one of my favorites because it makes her skin dewy and silky smooth. A makeup artist’s dream.
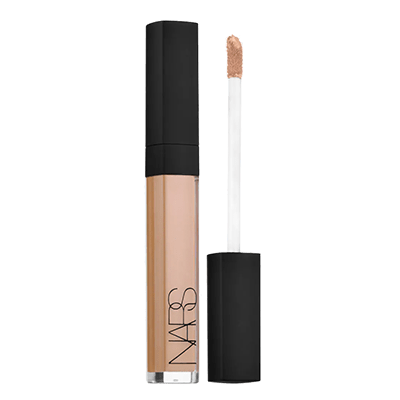
Apply Nars Creamy Concealer in “Honey” to correct any under-eye coloring.
@cassidyblisscooper @malloriemason
Pro tip: Then, I apply Nars Creamy Concealer in Vanilla to brighten and highlight her high points. Areas such as the under eyes, bridge of nose, chin, forehead, and around nostrils. This will fake that instant glow every time.
Before I set with powder, I make sure to let the concealer melt into her skin. Once the skin is ready, I use Huda Cream Contour in ‘Fair’ with an angled contour brush around the perimeter of her face, brushing over areas such as where the forehead meets the hairline, the hollows of the cheeks, sides of the nose, and jawline. This brings the warmth back into the skin. However keep in mind, a little goes a long way. So don’t go crazy with the brush.
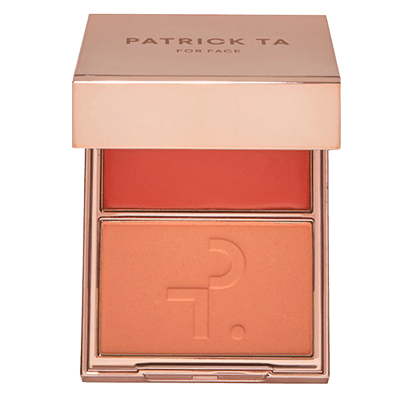
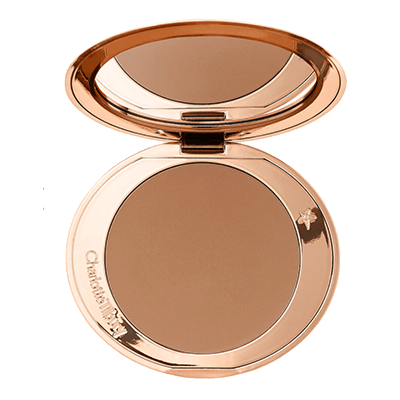
Next, I apply Patrick Ta “Do We Know Her” Cream Peachy Blush to the apple of the cheeks and lightly blend the cream contour. With what’s left on the brush, I brush it over the middle bridge of her nose. With a fluff brush, I take Charlotte Tilbury Airbrush Bronzer in ‘Med’ and set the cream contour and also blend down her neck.
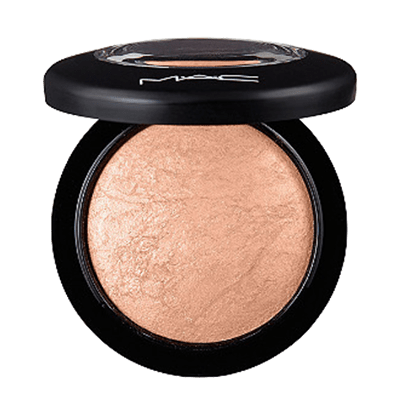
Molly loves to be bronzey and highlighted so I add Mac “Global Glow” all over her face. I blend the bronzer in her cheeks and high points along with adding a bit of Becca Highlight in ‘Opal’. Pro tip: with every product application, I use a light hand. It’s key when layering products so that you have full control!
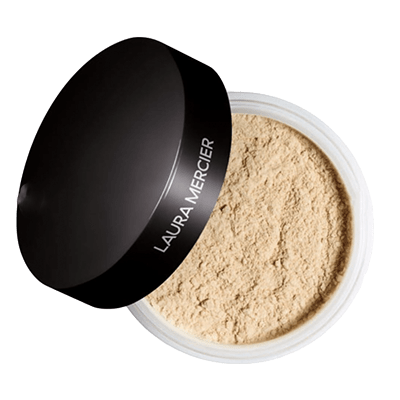
To set the makeup, I use Charlotte Tilbury Airbrush in Shade ‘2′. With a medium-size tapered brush, I buff light, circular motions under her eyes to set the concealer. Then, I take my damp beauty blender and some Laura Mercier Translucent Powder ’01′ to set the forehead, chin, around the nose, and mouth. Using this method helps the powder leave a skin-like texture. No cake or baking necessary.
Once I finish with her complexion, I comb through her brows and lightly shape and fill in with Anastasia Brow Wiz in ‘Soft Brown’ because Molly likes to keep her brows light and natural. My next step is the Patrick Ta Brow Soap in ‘Clear’.
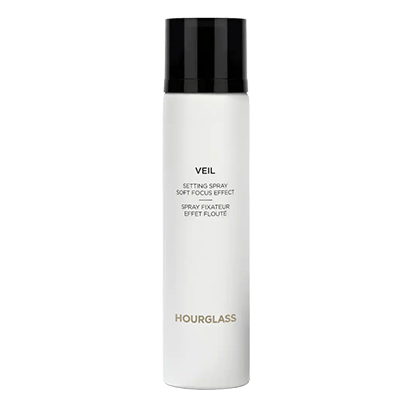
Next, I spray some Hourglass Veil Setting Spray into the soap and with a clean mascara spooly, I lather it with the soap and let it dry for 10 secs. Then, I comb through her brows in an upward and outward movement. Once the brows dry, I take another clean spooly and comb through and place her brows to a natural placement. That’s the trick on getting your brows to stay put the whole day.
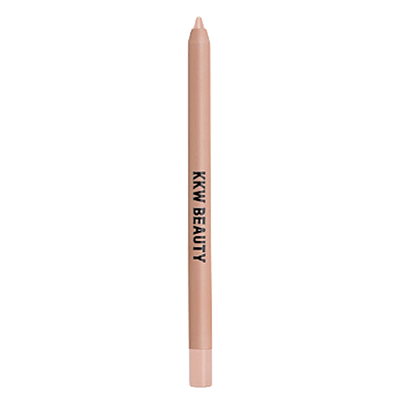
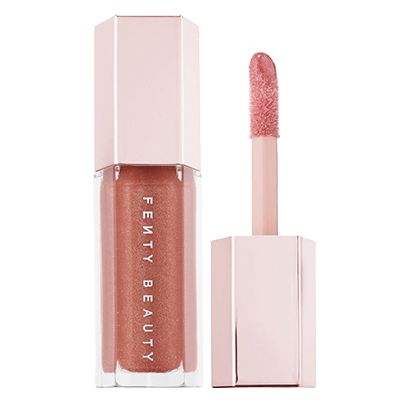
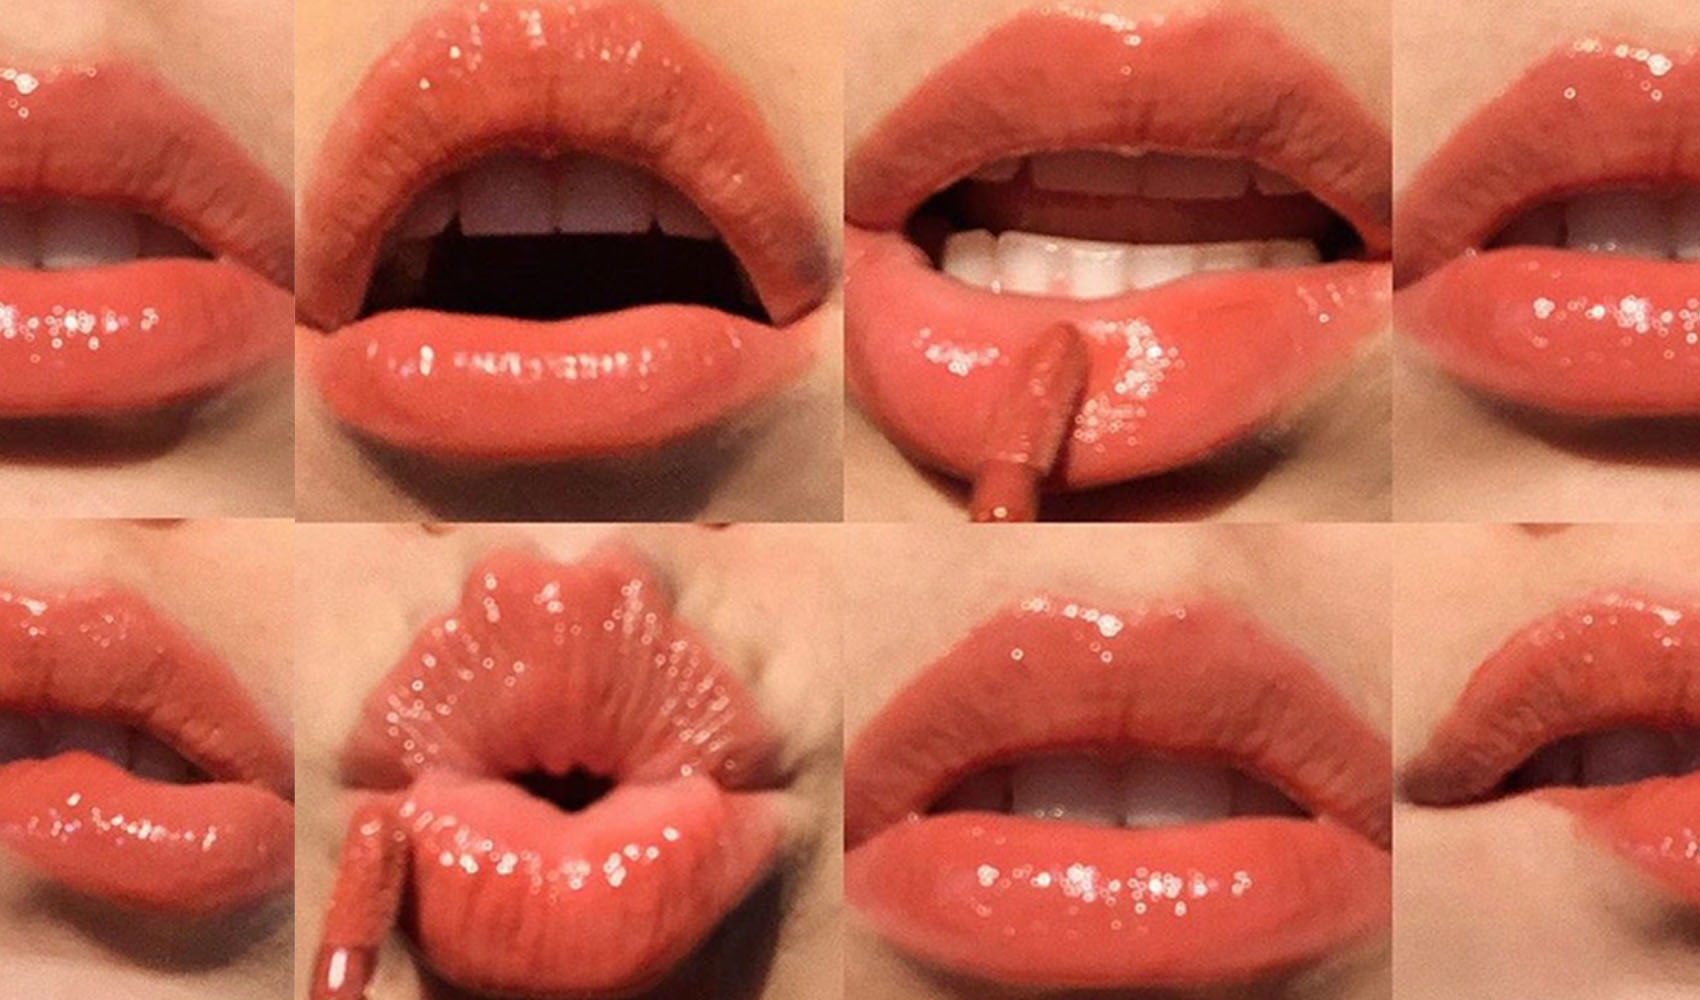
Now onto her lips. Molly’s go-to is a light soft nude-ish pink. When I ask her what she wants to do she usually says something along those lines to describe the color. We found that her perfect shade is Charlotte Tilbury in ‘Bitch Perfect’ Lipstick. I line the lips with KKWBEAUTY Liner in ‘Nude 0.5’ and finish with Fenty Gloss in ‘Fenty Glow’. Viola, the perfect lippy.
I always complete the glam sesh with a setting mist! Lately, I’ve been loving Hourglass Veil Soft Focus Setting Spray. It’s one of my absolute favorites and never fails.
We asked the experts to give us a crash course in makeup. Here's what they shared with us.
READ MORE >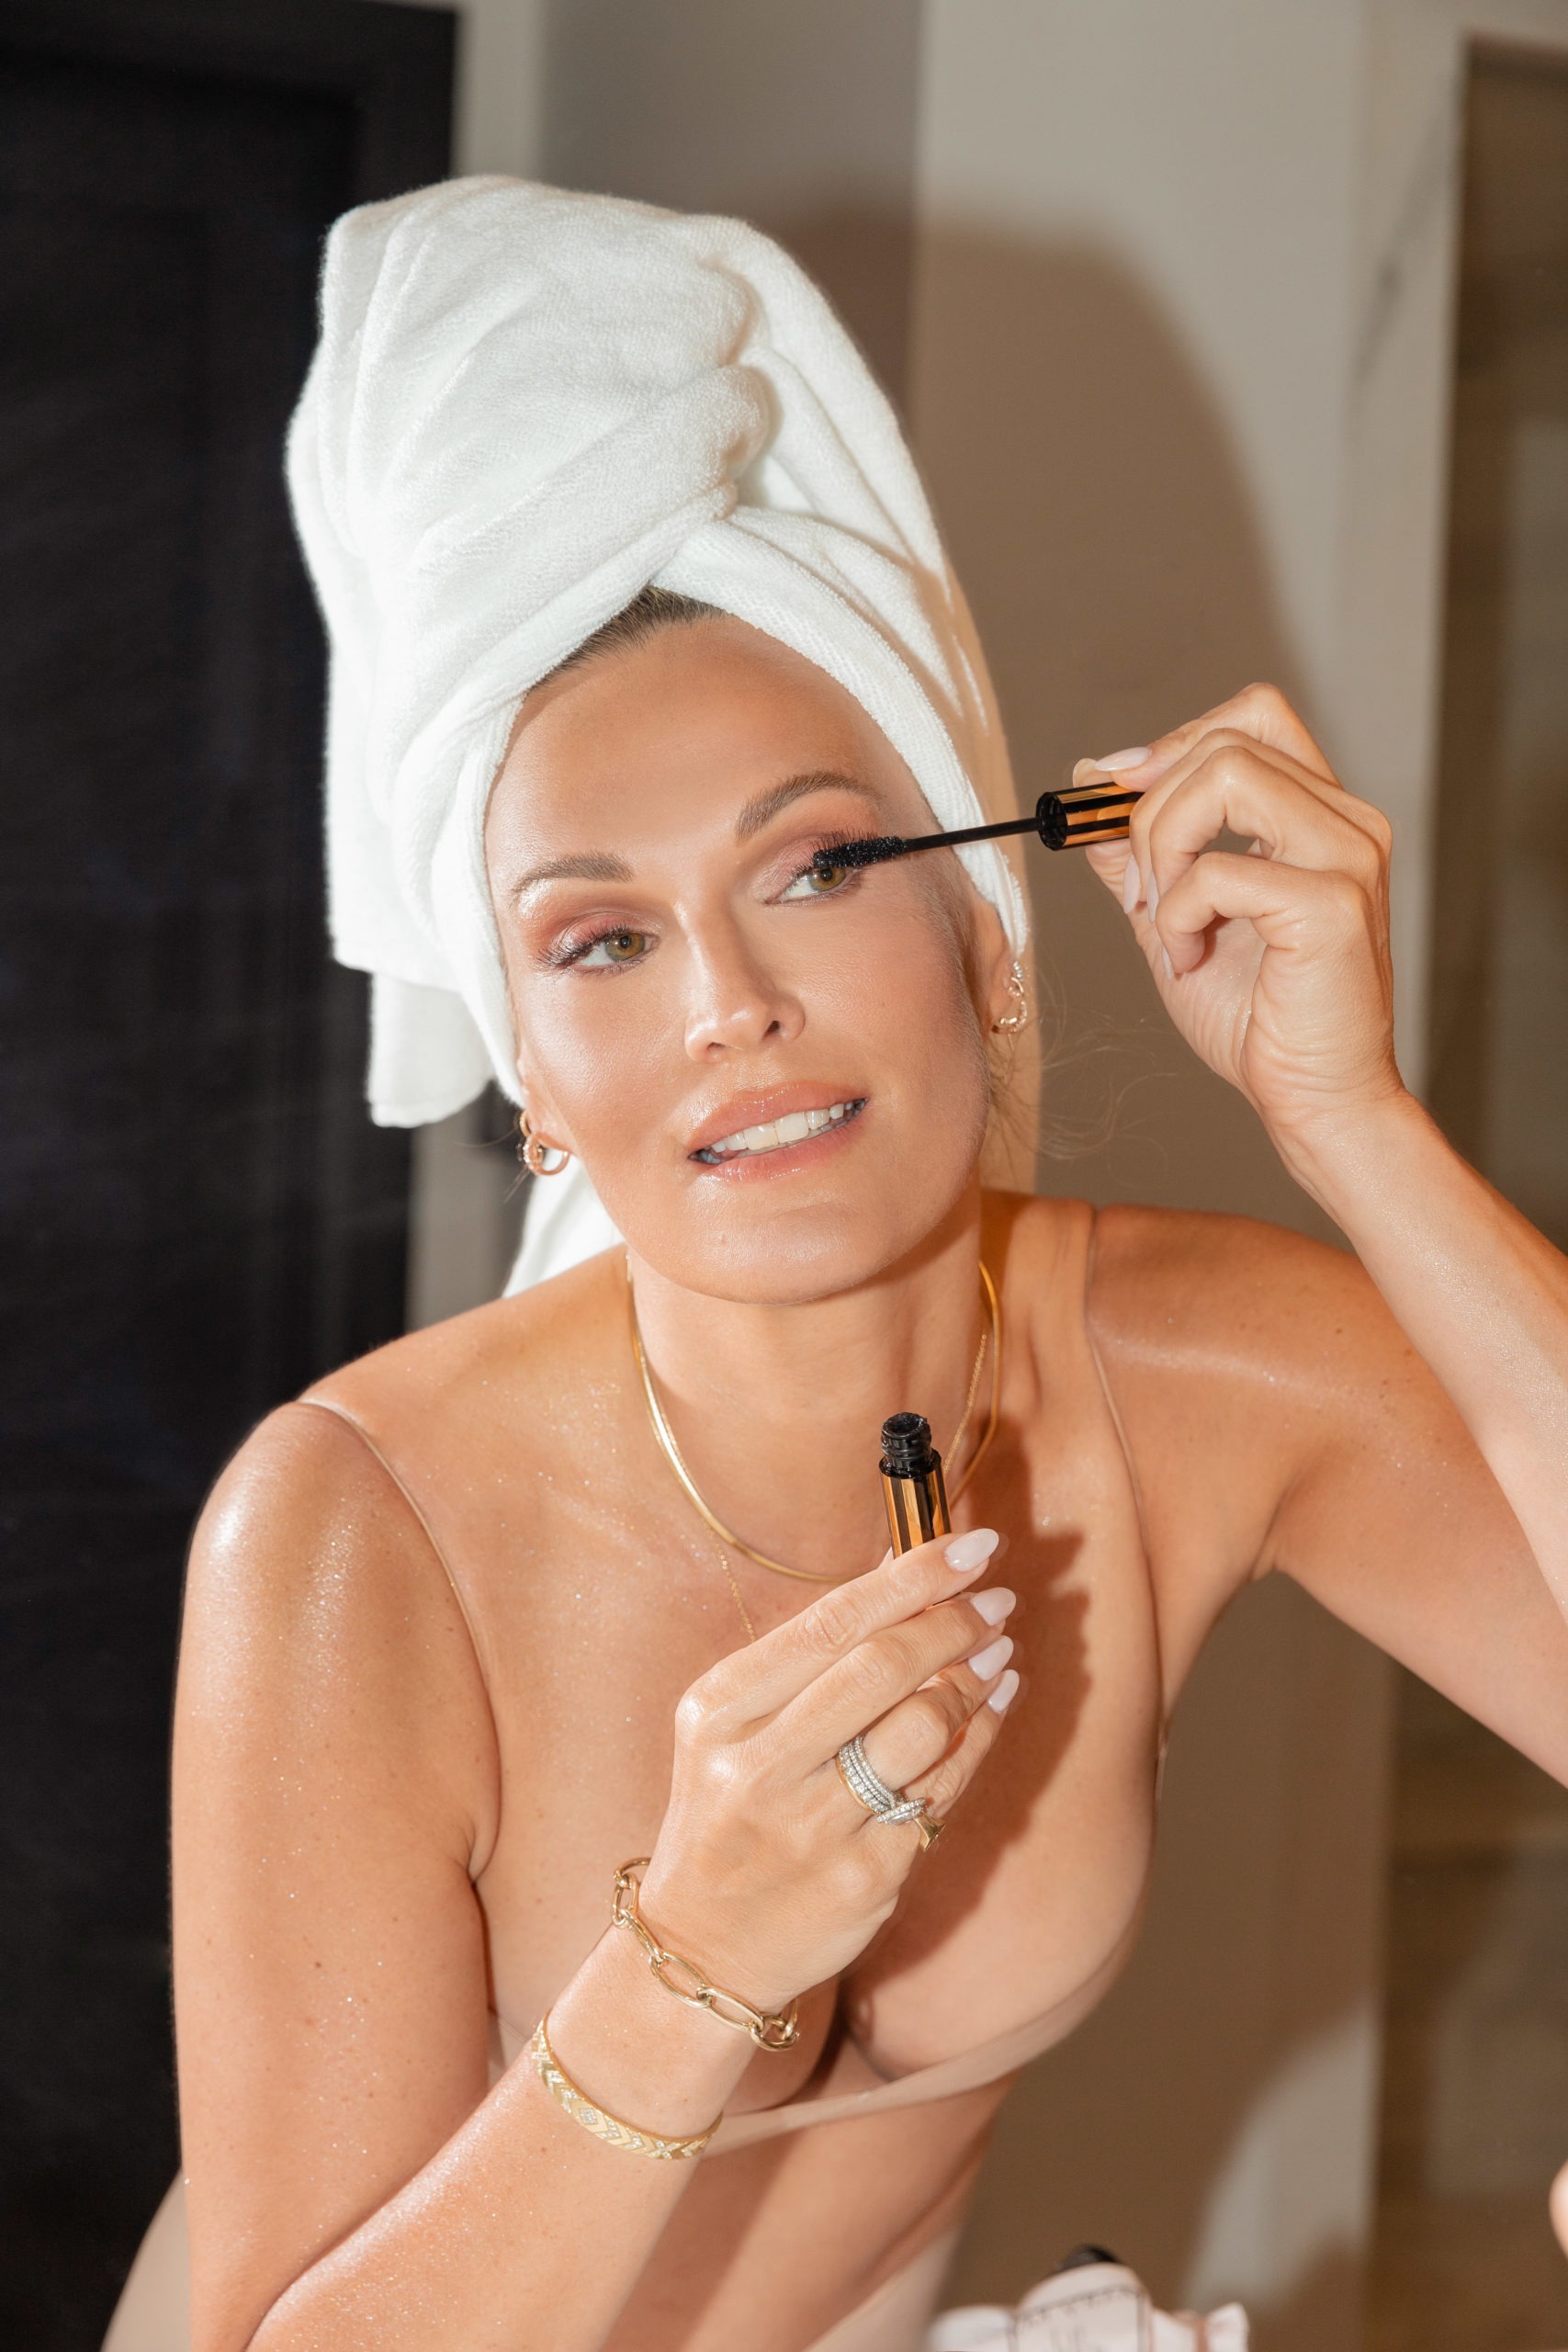
Transform your lashes in a matter of swipes.
READ MORE >