Beauty...
Be your own
kind of beautiful
Be your own
kind of beautiful


By Marissa DeSantis
There’s no doubt that social media platforms like Instagram and Pinterest have made wedding planning easier. You can create a comprehensive album to see exactly how the details you envision will look before the big day, or discover your dream dress designer that you otherwise would have missed out on. But when it comes to bridal hair, there’s a lot of behind-the-scenes preparation that goes into the glossy waves or textured low knot that you’ve pinned on repeat to your wedding board.
To help you plot out everything from preparing for your hair trial to navigating extensions, we spoke with Emily Hedicke Edwards, a Los Angeles-based celebrity hairstylist and colorist (and recent bride herself!).
Ahead, you’ll find Edwards’ most helpful tips for working with your hairstylist and avoiding extra stress come wedding week.
While you don’t need to have your hairstylist booked as far in advance as selecting your venue or buying your dress, you also don’t want to wait until the last minute. “I would say book your hairstylist well before three months,” Edwards says. As for your hair trial, you can wait as close as two months before your wedding, planning it in conjunction with something like your bridal shower to really test it out.
“I suggest making your own Pinterest board with your whole bridal look—décor, flowers, your dress style, and a couple of different options of what you like for hair and makeup,” Edwards advises. And if you’re torn between a few looks, not to worry. Edwards notes that you’ll typically be able to try a few hairstyles during the trial. “The stylist will usually start with something down, then a half-up style, and finally an updo so that you can see what you feel good about.”
You’ll also want to come to your trial with your extensions (should you choose to use them). “If you have finer hair, it’s definitely good to get some clip-in extensions,” says Edwards. “Even if you have thick hair, sometimes it’s nice to have them to add some depth to your hair. They really do make the hair look better, and they’re comfortable,” she adds for anyone on the fence.
“Extensions stay styled much longer, too, so if your hair doesn’t hold a curl and it’s going to be humid or windy, they really help.”
Clip-in extensions are quick and easy if you just want the illusion of fuller hair for your wedding. But if they’re something you’re going to want in the weeks leading up to your wedding or for your honeymoon, Edwards suggests having tape-in extensions professionally applied as they can last you anywhere from four to eight weeks if you follow the maintenance instructions.
“If you’re doing clip-ins, I would say get a pack of extensions, which is usually six to eight pieces in different sizes,” Edwards says, explaining that your stylist can then pick and choose the correct length for your hair during the trial, or even custom cut them. “If the color doesn’t completely match, you can take them to the salon on your last color appointment before the wedding and your colorist can tone them for you.” Just remember that it’s always better to go lighter when determining which color to order.
“You can always darken extensions or tone them, but you can’t lighten them,” Edwards cautions.
If you’re ordering your extensions yourself, Edwards notes that there’s one other major mistake you’ll want to avoid: synthetic hair. “If you just want extensions for the wedding, I don’t think you have to spend a ton of money—I’m not even opposed to ordering them on Amazon,” Edwards says. “But the important thing is to make sure they are Remy hair and 100% human hair. The worst thing you can do is get synthetic hair,” she says, cautioning that fake ponytail extensions in particular tend to be synthetic. “Synthetic hair melts when heat styling, it looks very plastic-y, and it gets very tangled.”
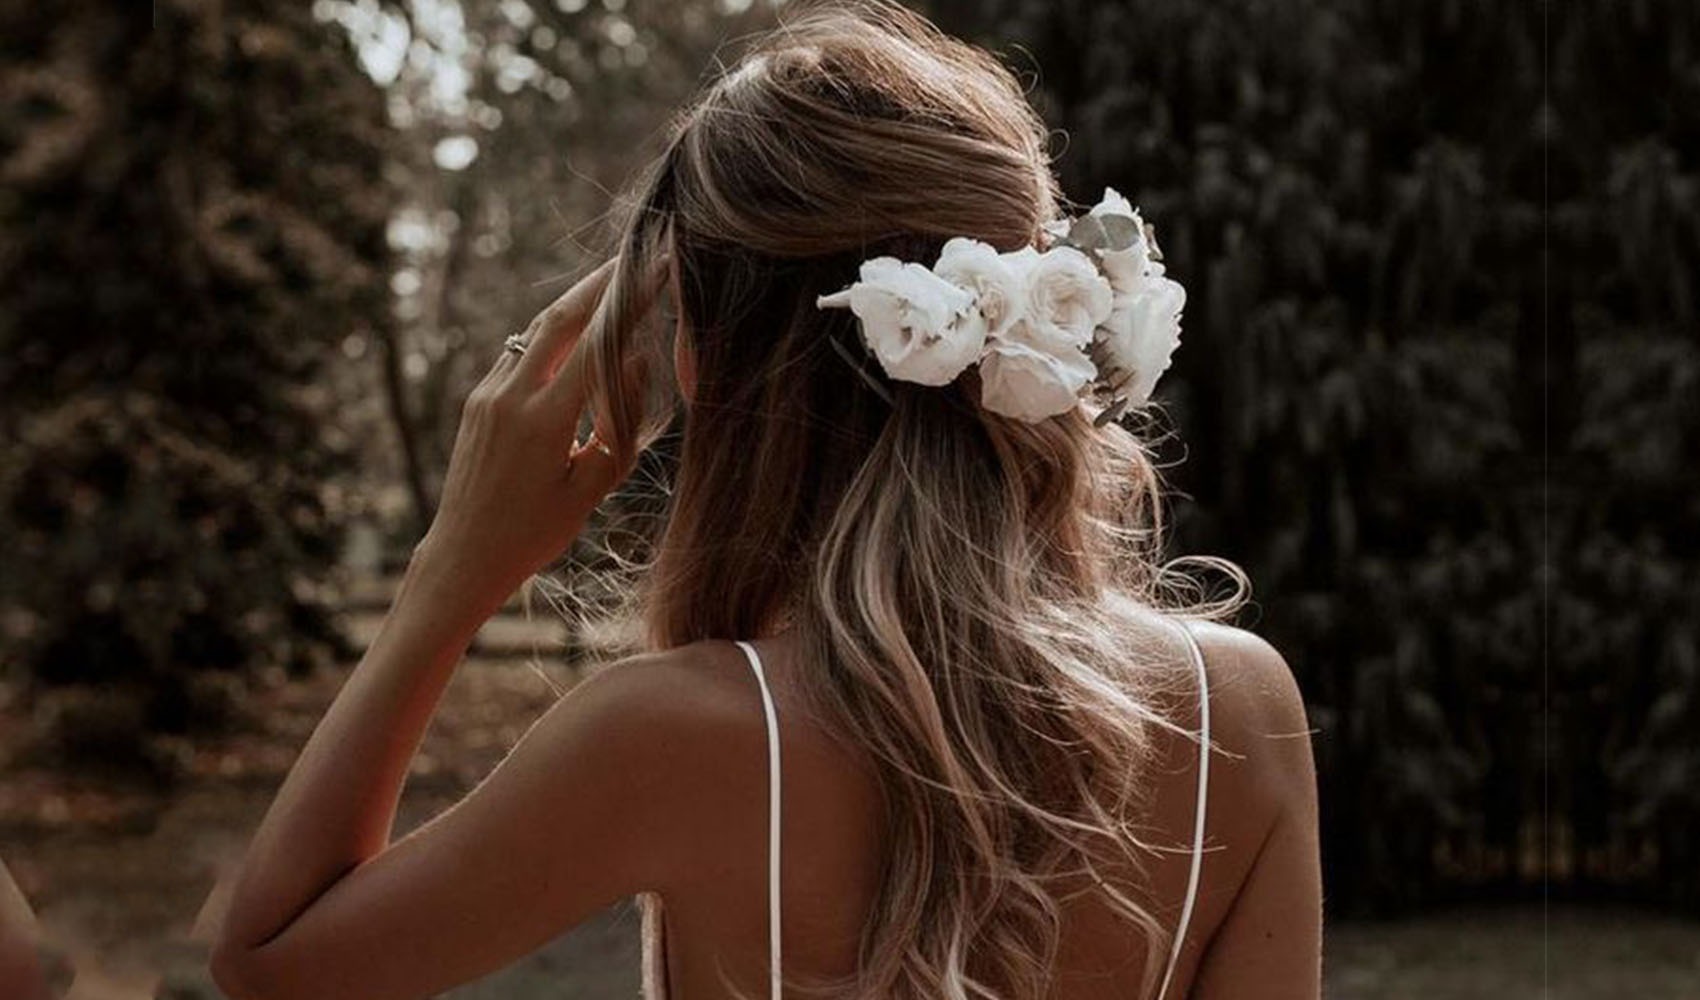
While boho braids had their moment in years past, Edwards shares that currently, bridal hair has taken on a more elegant, chic look.
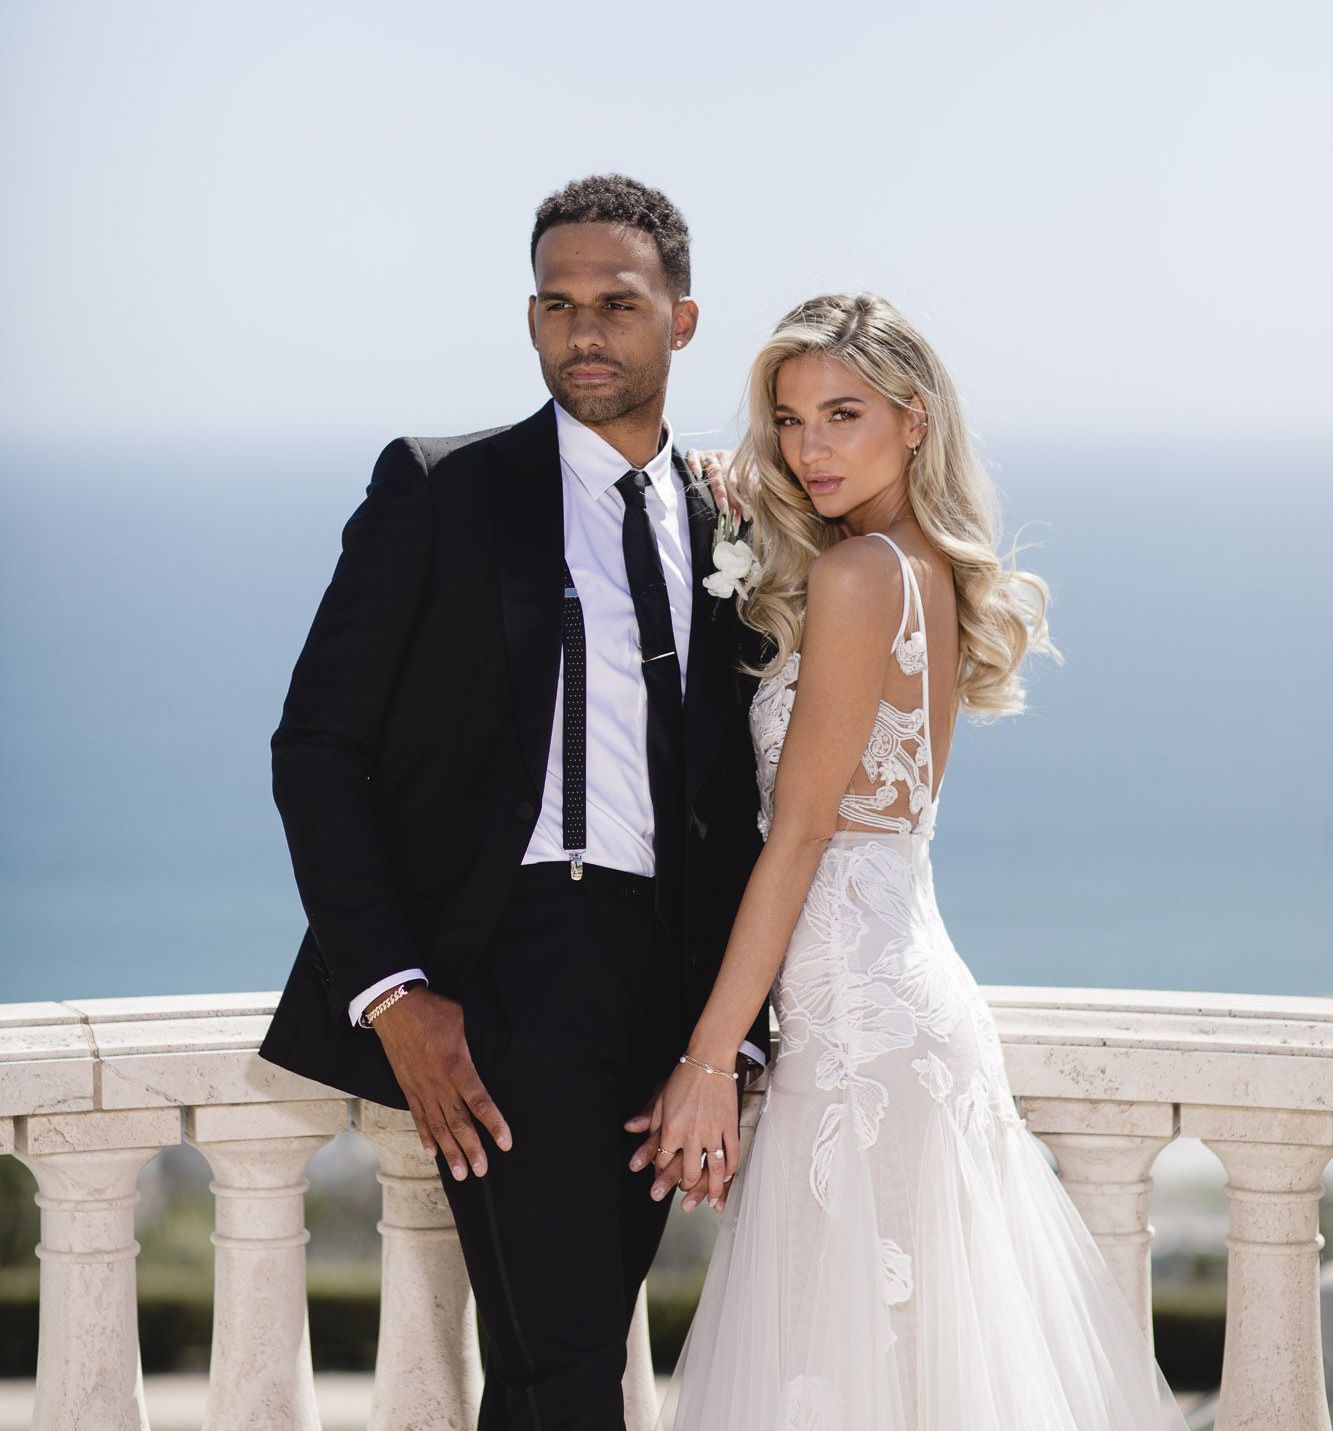
Wearing the hair down in classic waves is definitely the most common hairstyle.
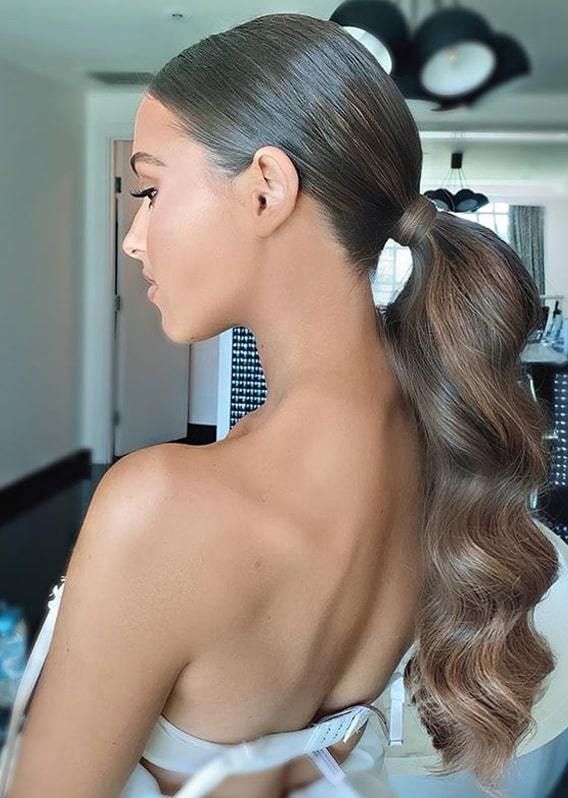
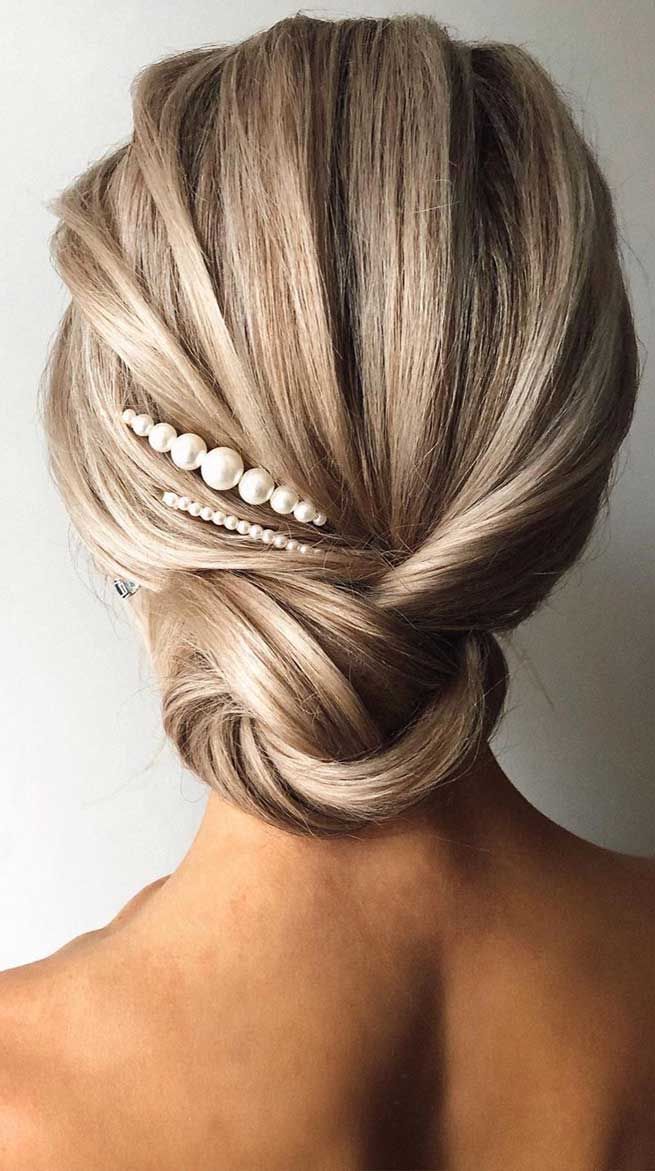
“It used to traditionally be updos, but people have gotten away from that,” says Edwards, who adds that low buns, ponytails, or half-up styles have replaced the high top knot. You can also style your hair around specific details of your dress that you may want to show off. “If you have a high-neck dress, a detailed sleeve, or a sweetheart dress, I suggest wearing the hair half-up or completely in an updo so that you can show that off,” she says.
@emilyhedicke
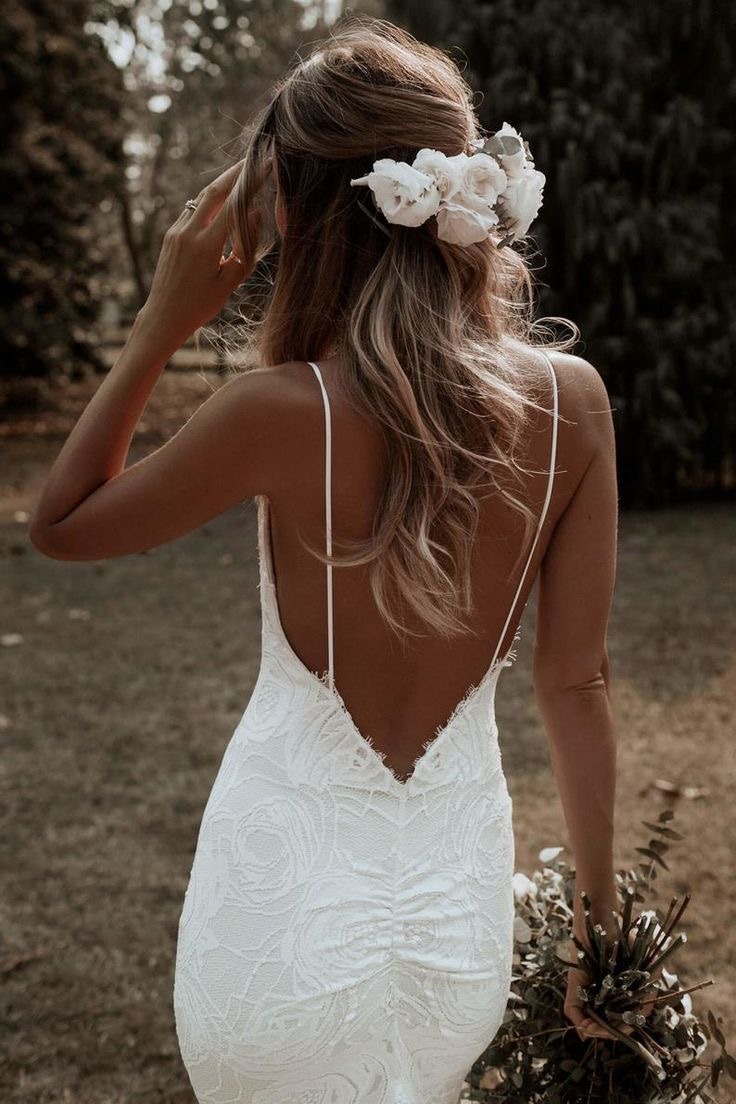
@graceloveslace
That being said, if you’re someone who doesn’t typically wear your hair down, you shouldn’t feel like you have to wear your hair in long, beachy waves just because it’s trending. “These are pictures that you’re going to want forever, and you want to feel comfortable on your wedding—like yourself, just heightened,” reminds Edwards.
You also don’t need to pick your hairstyle around your veil.
“You can completely pull off any hairstyle with a veil because veils come on a comb that can be inserted anywhere by a good stylist. You can insert the veil where a headband would sit, or where a halfway updo would sit,” Edwards says of a veil’s versatility. “You can even put the veil above or under a bun. If you wear your hair in a low bun, it’s very elegant to put the veil underneath because it looks more like a train.”
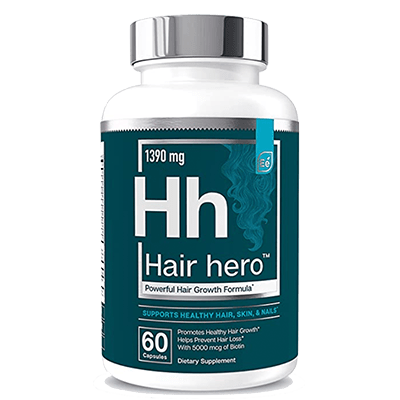
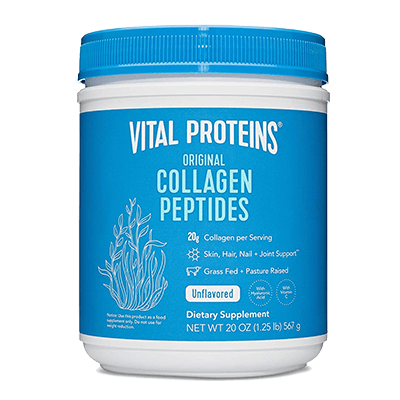
For longer, healthier hair by your wedding day, commit to oral supplements and weekly hair conditioning treatments for at least six months before your wedding. “Hair vitamins and collagen are easy because they can be taken as pills or added to coffee or yogurt,” says Edwards. “Plus, they can help your skin and nails,” she adds. “If you’re somebody that uses a lot of heat styling tools, try to minimize using them to help prevent breakage,” Edwards adds. “And start using a dry oil or dry conditioner on your ends because if you’re only washing your hair once a week, and you’re using dry shampoo, your ends start getting really dry.”
To avoid any last-minute trips to the salon to correct a color or cut disaster, Edwards says to know how you want your hair anywhere between three months and 10 weeks before the wedding. “You want to really know what your hair is going to do, that way you’re just maintaining what you have when you come in for your final appointment about two weeks ahead of the wedding.” That means that if you had highlights three months before the big day, you’ll want to refresh that color two weeks before the wedding rather than test out a whole new color so close to the date. Don’t forget to bring your extensions to your last color appointment, too, so any adjustments can be made.
Chemical processes like a keratin treatment or a Brazilian blowout treatment should also be done at least two weeks before the wedding, but you have a little more flexibility with a cut. “If you have a blunt cut and you want it to be fresh, you can make your appointment closer to the wedding,” says Edwards. “But if you’re going to have extensions, three to four weeks before the wedding is good because extensions blend better if your hair isn’t freshly cut.”
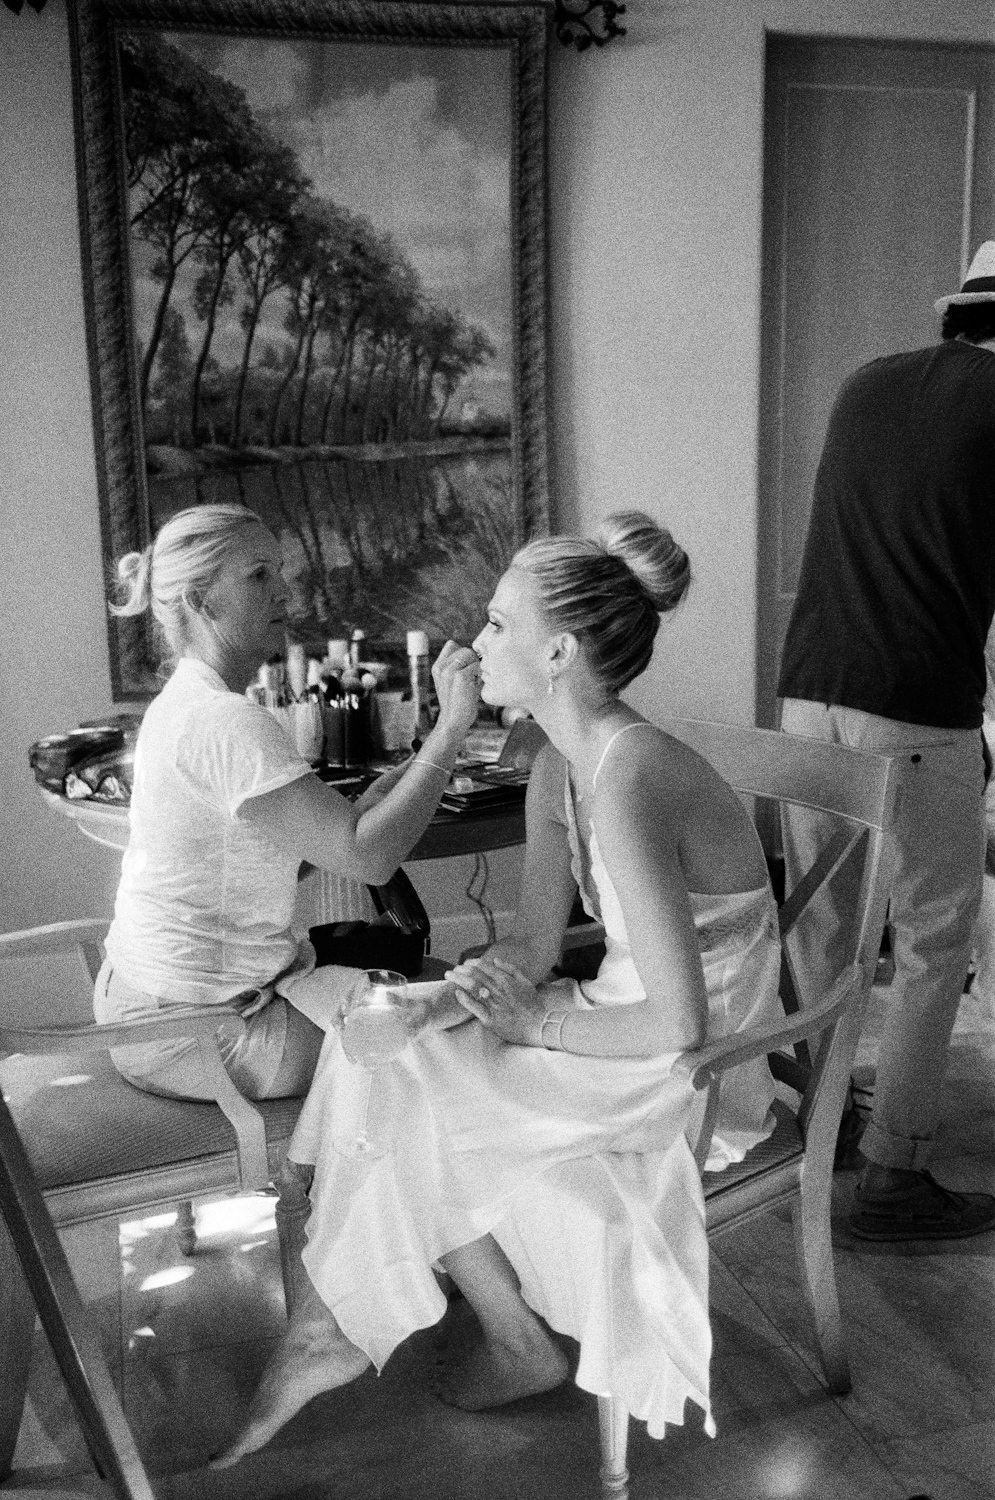
Similarly to your bridal makeup, you’ll want to allow 45 minutes to an hour for your hair to be done on your wedding day. If you’re wearing your hair down in curls, Edwards says a good stylist will always set the style. “They can be really tight curls or loose and almost beachy, but it’s important that whoever is doing your hair sets the curls so that they really last,” she insists. “That means that you take each individual curl, roll it up, and put a pin in it—your whole head will look like a roller set,” she explains. “You can have your makeup done while the hair cools, then go back and take the pins out.”
For half-up styles or updos, an important trick is to follow the lines of your bone structure when determining where to fasten the hair. “It’s kind of like the fox eye effect for makeup, where the face shape dictates the placement of the hair. If you follow from your chin up through your jawline and past the bottom of your ear, where that angle would completely touch at the back of your head is the best place for a low updo,” says Edwards. “For half-up styles, it’s the same thing, but you’re following along the cheekbones.”
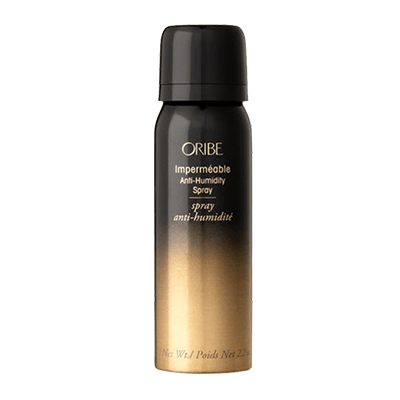
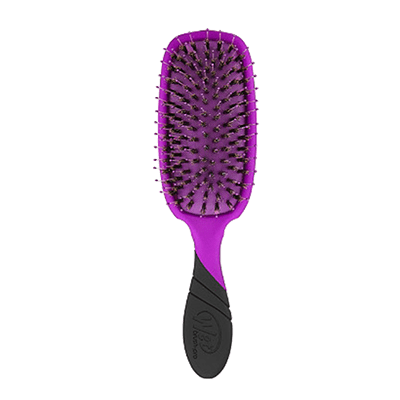
Once your hair is set (don’t forget to finish with a shine spray!), Edwards says that it should stay in place for the whole day. However, she suggests adding a mini hairspray, rat comb, and brush into your makeup bag as backups.
Consider this your bridal beauty checklist.
READ MORE >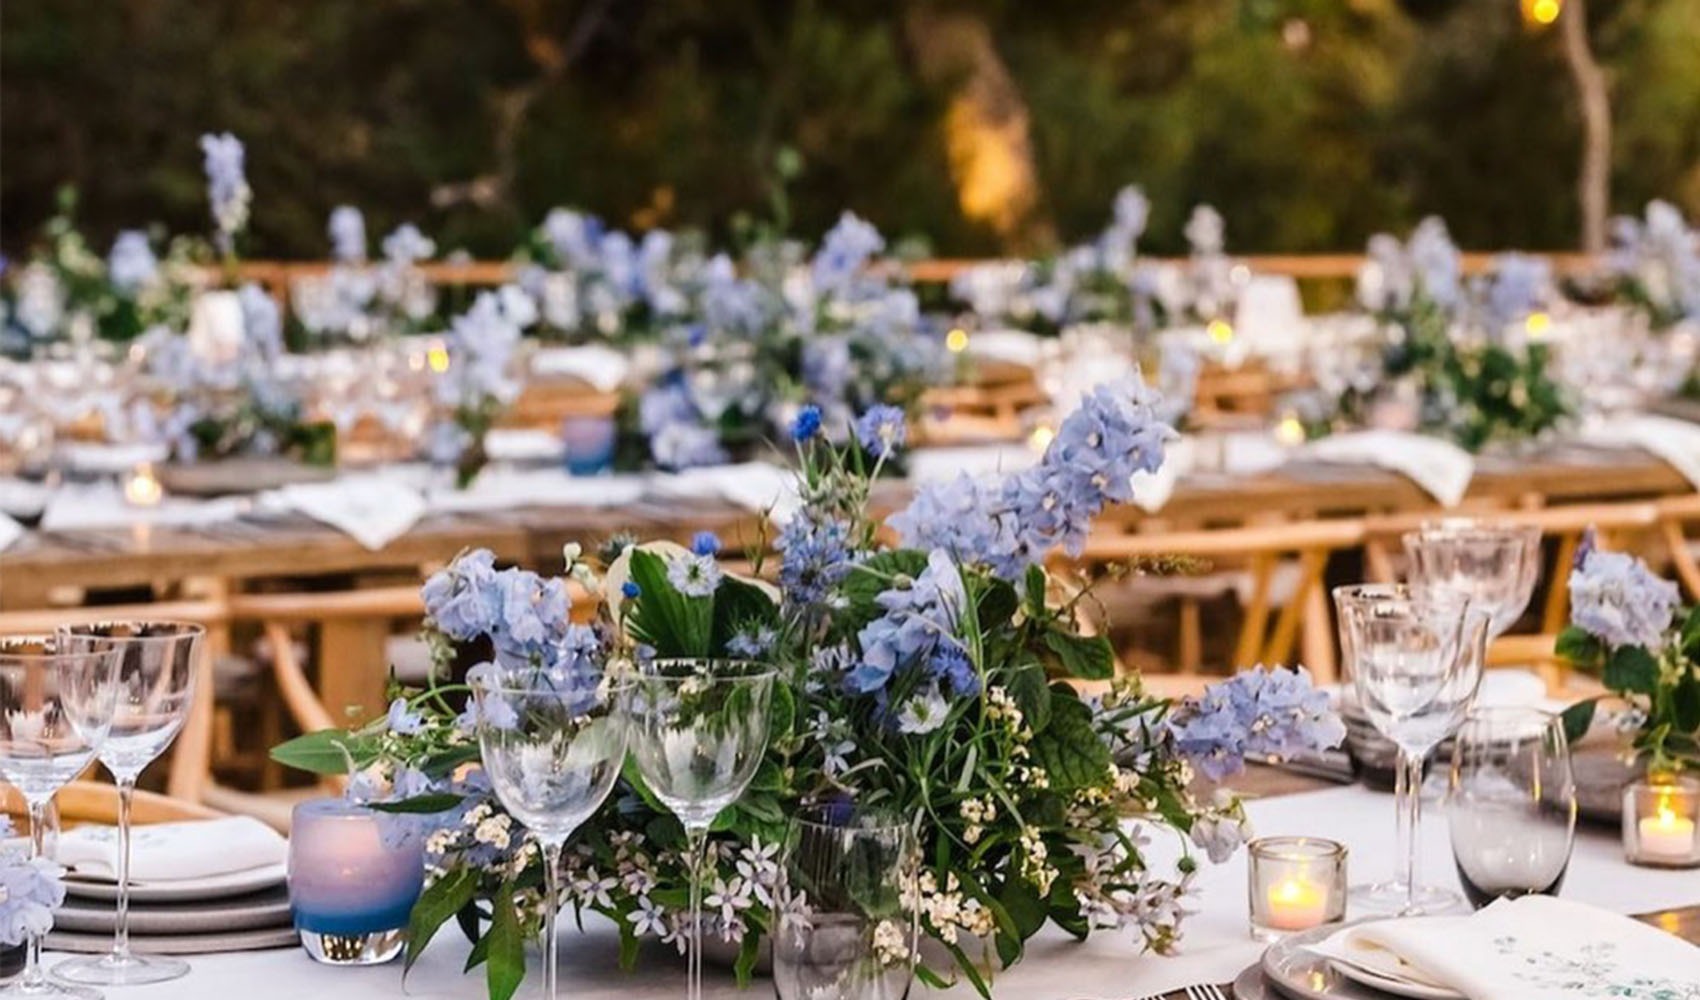
We are breaking down color palettes, guest lists, floral inspirations & more.
READ MORE >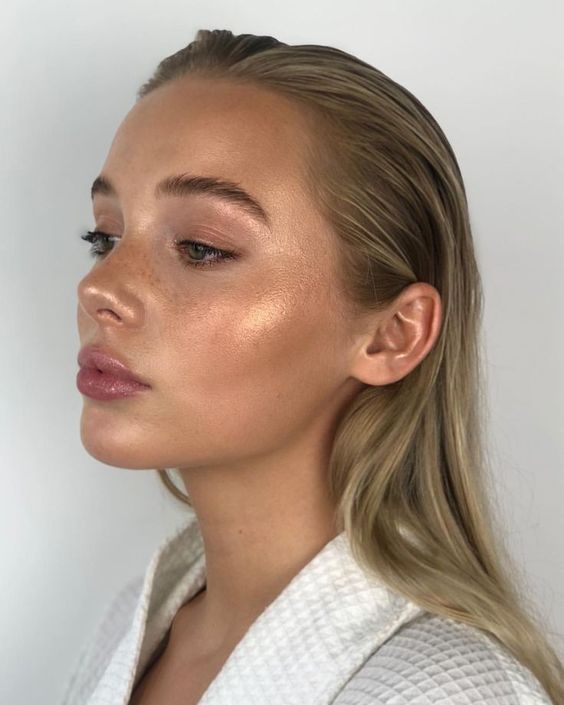
Get your skin walk down the aisle-approved.
READ MORE >
The advice you've always wanted but didn't know you needed.
READ MORE >