Beauty...
Be your own
kind of beautiful
Be your own
kind of beautiful


I love a good DIY–especially around the holidays. This Halloween, we definitely have options. Here’s what we created:
(via Primary)
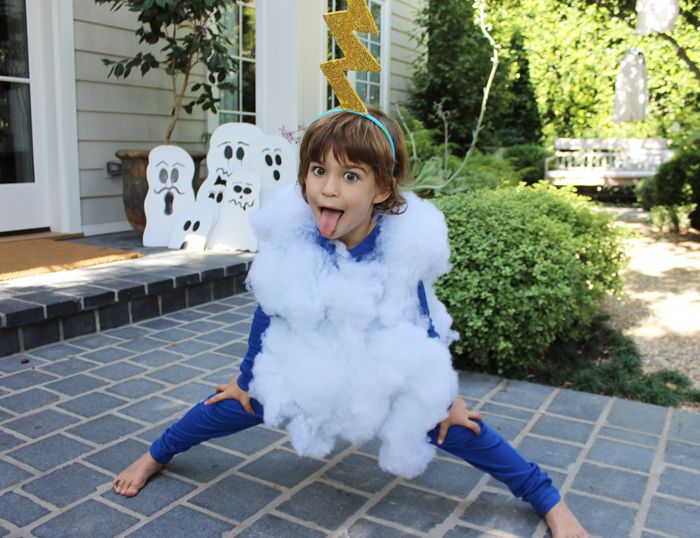
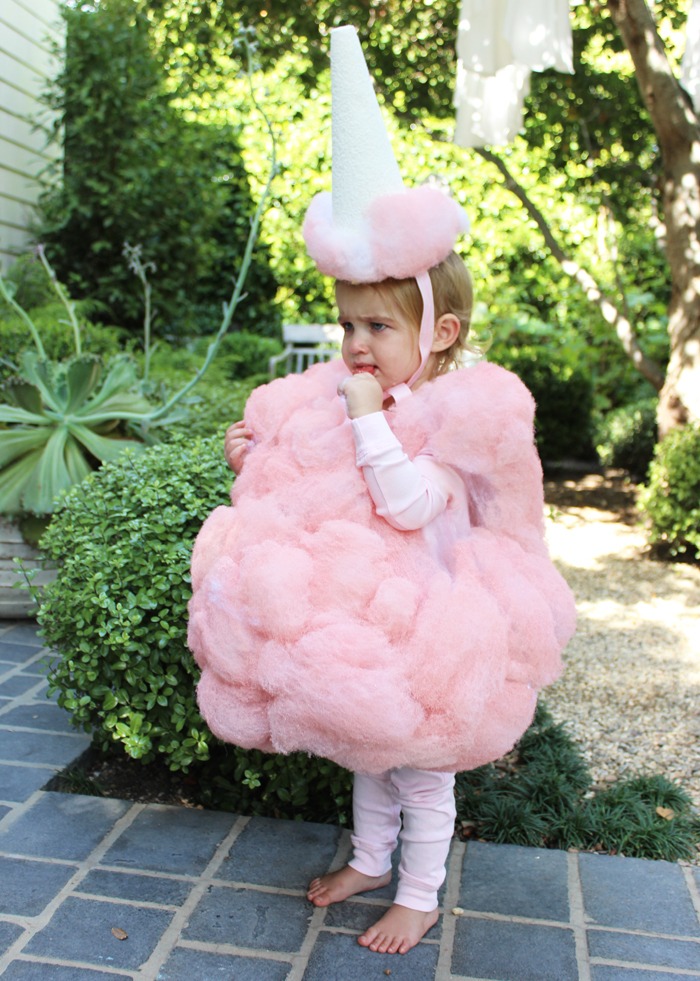
For the cotton candy body:
Start with the base of light pink leggings and top. For body, spread Polyester Fiber-Fill on a protected surface (great project for inside the garage!) and spray with silk flower spray paint in pink or blue. Allow to dry completely. Next, stuff a tight-fitting t-shirt with an old pillow to give you a good, upright form to work with. (This t-shirt will go over the PJs so that they are reusable!) Next, use an adhesive spray to attach the Fiber-Fill to the t-shirt. For best results, build up three layers of Fiber-Fill on top of the t-shirt, using an adhesive spray in between each layer. Remember to reserve some extra Fiber-Fill for the hat. Once you have the desired amount of puff, use the spray paint again to give a final boost of color.
For the hat:
Use a light-colored beanie hat as the base. Drape a long piece of silk ribbon over the beanie (with ends long enough to tie into a bow under the chin) and attach with adhesive spray. Roll thin cardstock into a tall cone and glue the end. Use hot glue, adhesive spray or double-sided fabric tape to attach the cone to the beanie at an angle. Finally, use adhesive spray to add puffs of the reserved painted Fiber-Fill around the base of the cone onto the beanie until you have a full, fluffy puff. Follow up with an extra spray of paint for any needed color boost.
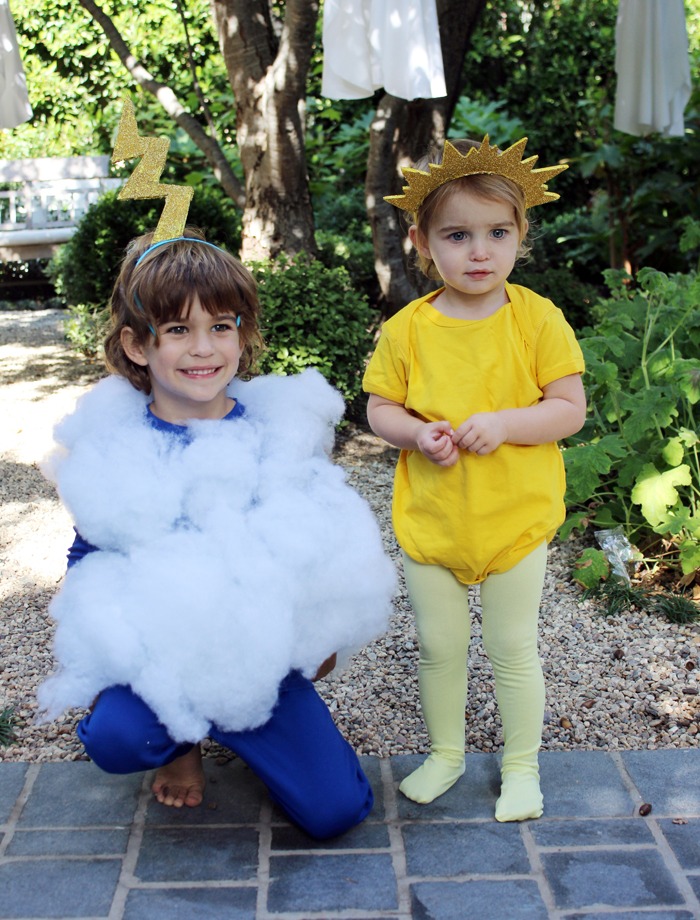
The body: yellow leggings and top (for the sun) and blue leggings and top (for cloud)
For the headpieces: you’ll need a blue headband and a yellow headband. With a foam board, cut out a lighting shape and zig-zag triangles. Paint each shape with yellow paint and cover with a thick layer of yellow glitter. Spray with adhesive if you’re worried about glitter falling off. Once dry, hot glue to the individual headbands.
(via Primary)
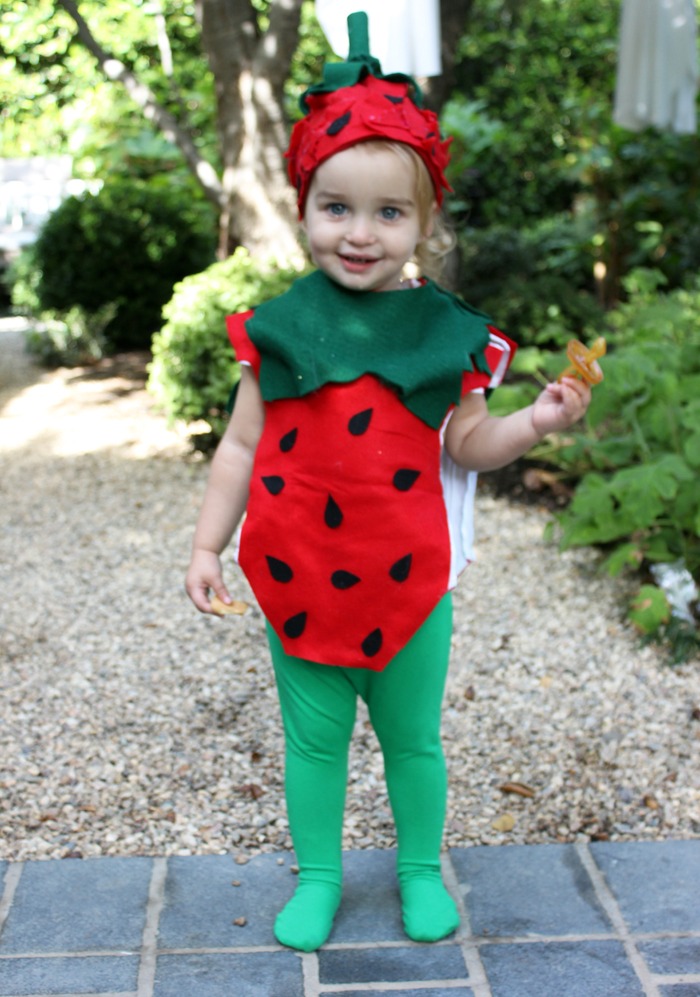
For the headpiece:
roll a square of green felt and glue in place to create the stem. Next, cut four large tear-drop shapes from the green felt, then use a drop of hot glue and pinch the bottoms together creating a leaf shape. Glue the leaves to the stem and then sew, glue or safety pin to the top of the baby hat.
For the leaf bib:
cut a bib shape from green felt then trim along the edge to create a series of leafy shapes. Create a series of gathers at the neck by using a drop of hot glue and pinching edges together.
For the seeds:
cut small tear-drop shapes from pink felt and attach to the baby suit with double-sided fabric tape.
Do you DIY for Halloween? I’d love to see pictures! Tag me on social at @mollybsims with images of your little trick-or-treaters!